Have you ever noticed that mysterious dark spots creep on the walls or dyeing bubbling and peeling?
If you see signs of molds, blisters or peeling, you are not alone. These problems can be the main problem for homeowners, especially during the rainy season, when moisture causes confusion on your walls.
Many people decided to hire professionals to solve these problems, but did you know that with a little effort you can easily solve these problems? By following these simple but effective methods, you can restore your walls for their earlier glory and save money in this process.
Here is how to handle these common problems of the wall without the need for professional help.

Over time, the walls of your house can develop problems such as molds, blisters, or peeling, especially during the rainy season, when these problems worsen. While many people are looking for professional help, you can easily solve these problems using the following methods. This approach not only saves you money, but also keeps your walls looking clean and fresh.
1. Treatment of molds
Step 1: Start by removing any visible forms. Gently scrub moldy spots using a dry toothbrush. Then take a soft cloth soaked in alcohol and wipe the area to dry it and prevent future mold growth.

Step 2: Mix bleach and water in a ratio of 1:99. Pour the mixture into a spray bottle and spray it on the moldy areas for efficient mold removal. During humid conditions, a stronger bleach can be used for better results (1:20 ratio).
Once the wall is dry, use sandpaper to smooth out the surface. Then apply a waterproof primer before rewriting to prevent mold from being-re-discovered due to moisture.
2. Blistering walls
Blisted walls are a common problem, often caused by poor wall preparation or moisture. Here’s how to fix them:
Step 1: Remove all blistering or peeling color. If the problem is caused by the low quality filler on the wall, scrape it and replace it with high quality filler.
Step 2: For smaller localized blisters, scrape the affected area, smooth the edges, and then apply the primer and the overlying. For larger blisters, remove the entire damaged part, allow the wall to dry completely and again ask the plaster.
Step 3: During house renovation, ensure the right waterproofing and repair any cracks to prevent blisters in the future.
Step 4: Avoid painting during the rainy season and use the corresponding primer and colors from the same brand for best results.
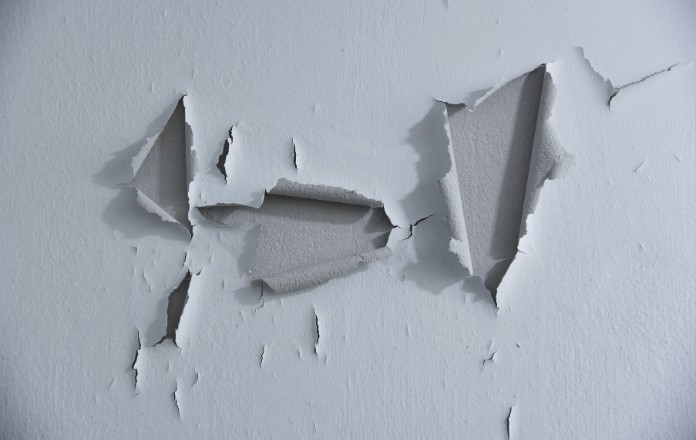
3. Peeled walls
The promise walls not only reduce the appearance of your home, but also contribute to dust and hygiene problems. Here’s how to effectively solve peeling:
Step 1: Scratch the peeling areas and remove any old filler. Use sandpaper to smooth out the edges and then apply the Primer before rewriting.
Step 2: Remove the damaged wall layer completely for extensive peeling and treat the surface with a primer before redrawing.
Step 3: For strongly peeling areas, damp the section with water and use a scraper to remove the peeling color. If there is no dust during scraping, the original filler is probably of good quality. The sky is polished to smooth it, and apply the primer and color if necessary.
By watching these direct steps, you can keep your walls in the highest condition without the need for professional help.
In conclusion, care for mold, blister, and peeled walls may not be a costly or time-consuming task. With a few simple steps, you can effectively solve these common problems and keep the walls of your home looking fresh and well maintained. Using the correct treatment, such as removal of mold with bleach, proper preparation of the wall for blister and careful reassessment for peeling, you can restore the appearance and durability of your walls. Not only will you save money by avoiding professional services, but you will also be proud to have successfully solved these repairs.